Need to hide faces before posting a photo? Blur Face lets you blur, pixelate, or cover faces right on your phone — no desktop editor needed.
This guide walks you through the main features so you can get started quickly.
Watch the full tutorial
Want to see everything in action? Here's the video walkthrough:
What Blur Face can do
Here's a quick overview of the tools you get:
- AI-powered face detection
- Blur, pixelate, or cover effects
- Multiple face shapes (oval, rectangle, etc.)
- One-tap blur for group photos
- Custom area blur for non-face content
- Adjustable blur intensity and pixel size
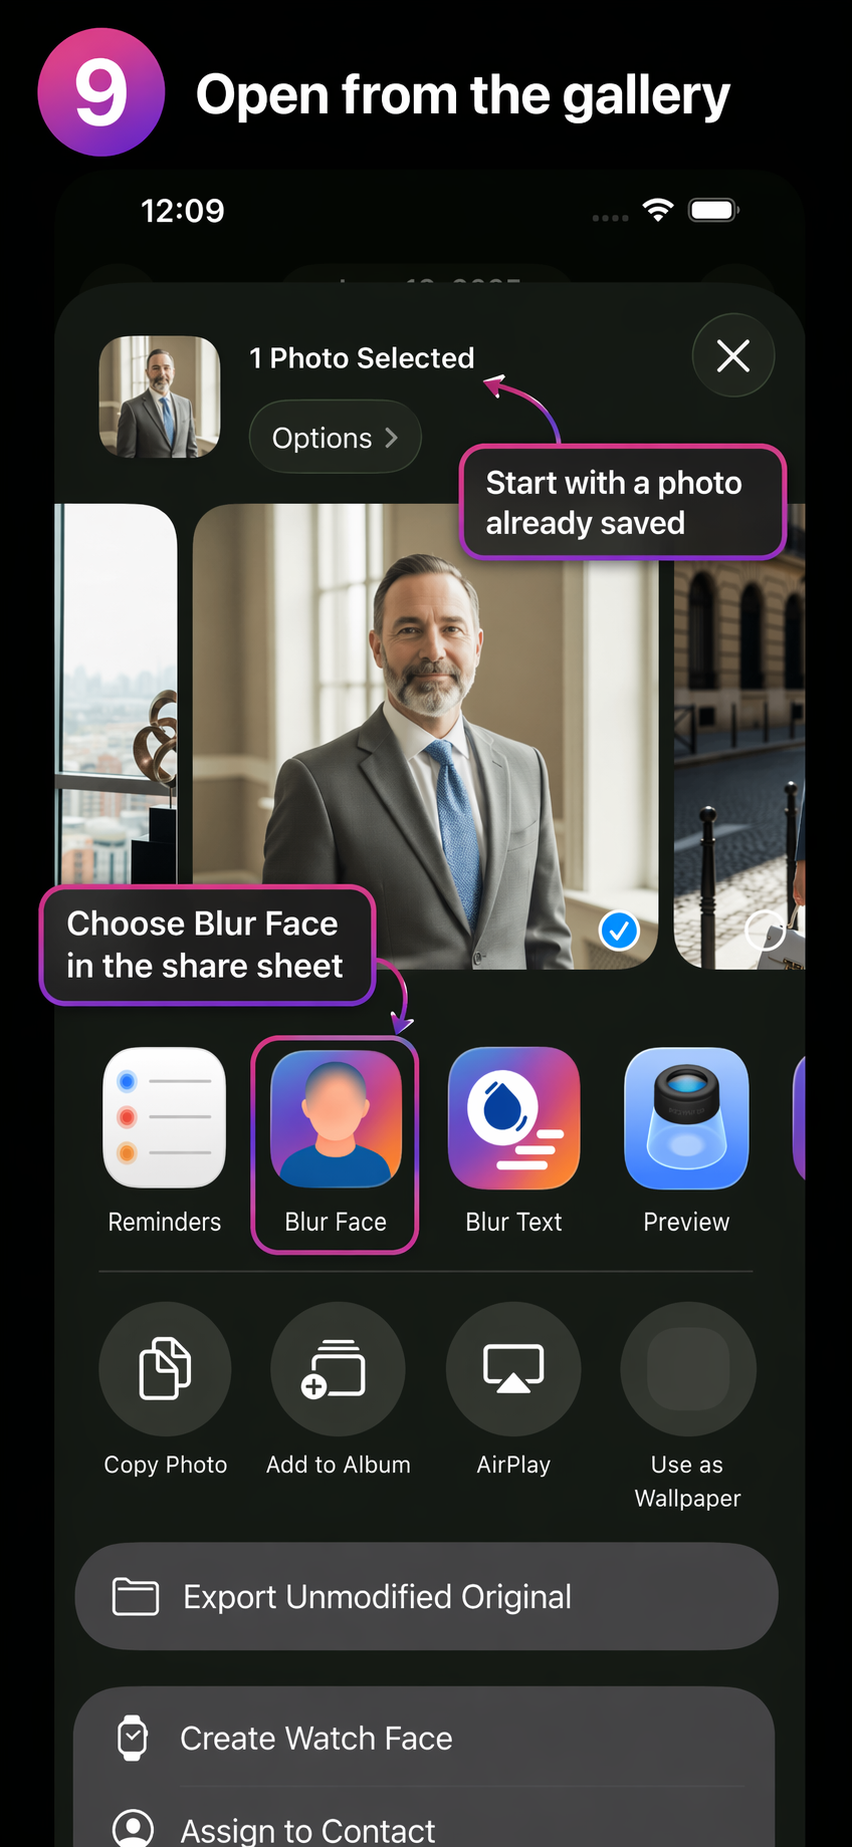
- Share intent — open photos directly from your gallery
Step-by-step: how to blur faces
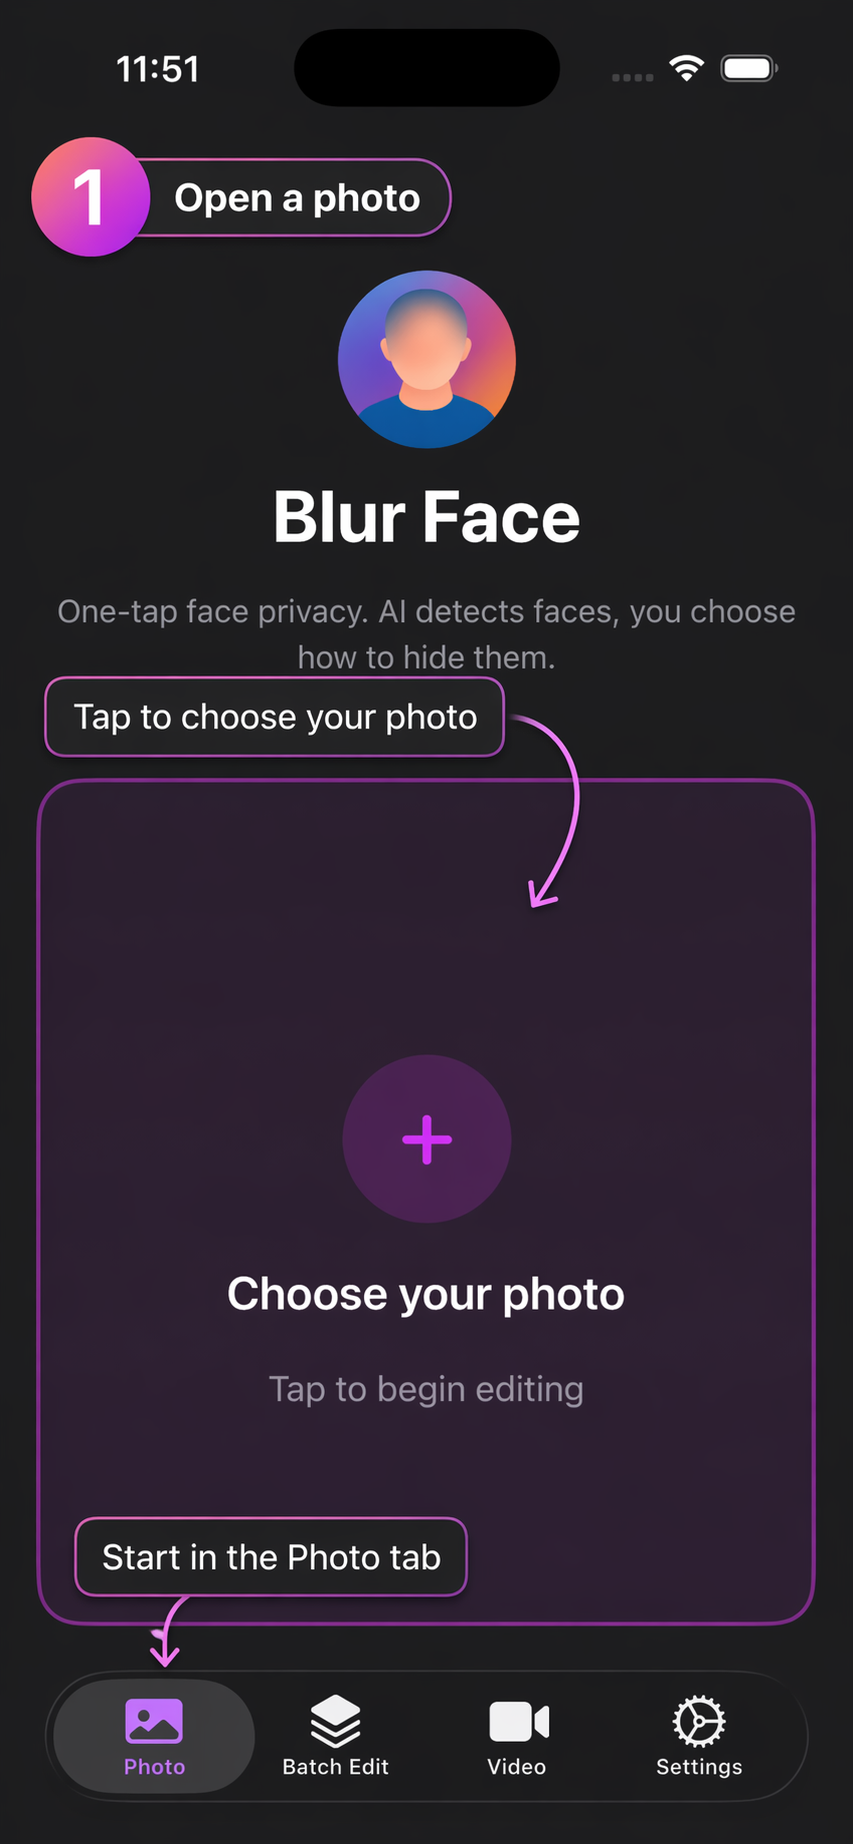
1. Open a photo
Launch Blur Face and pick the image you want to edit.
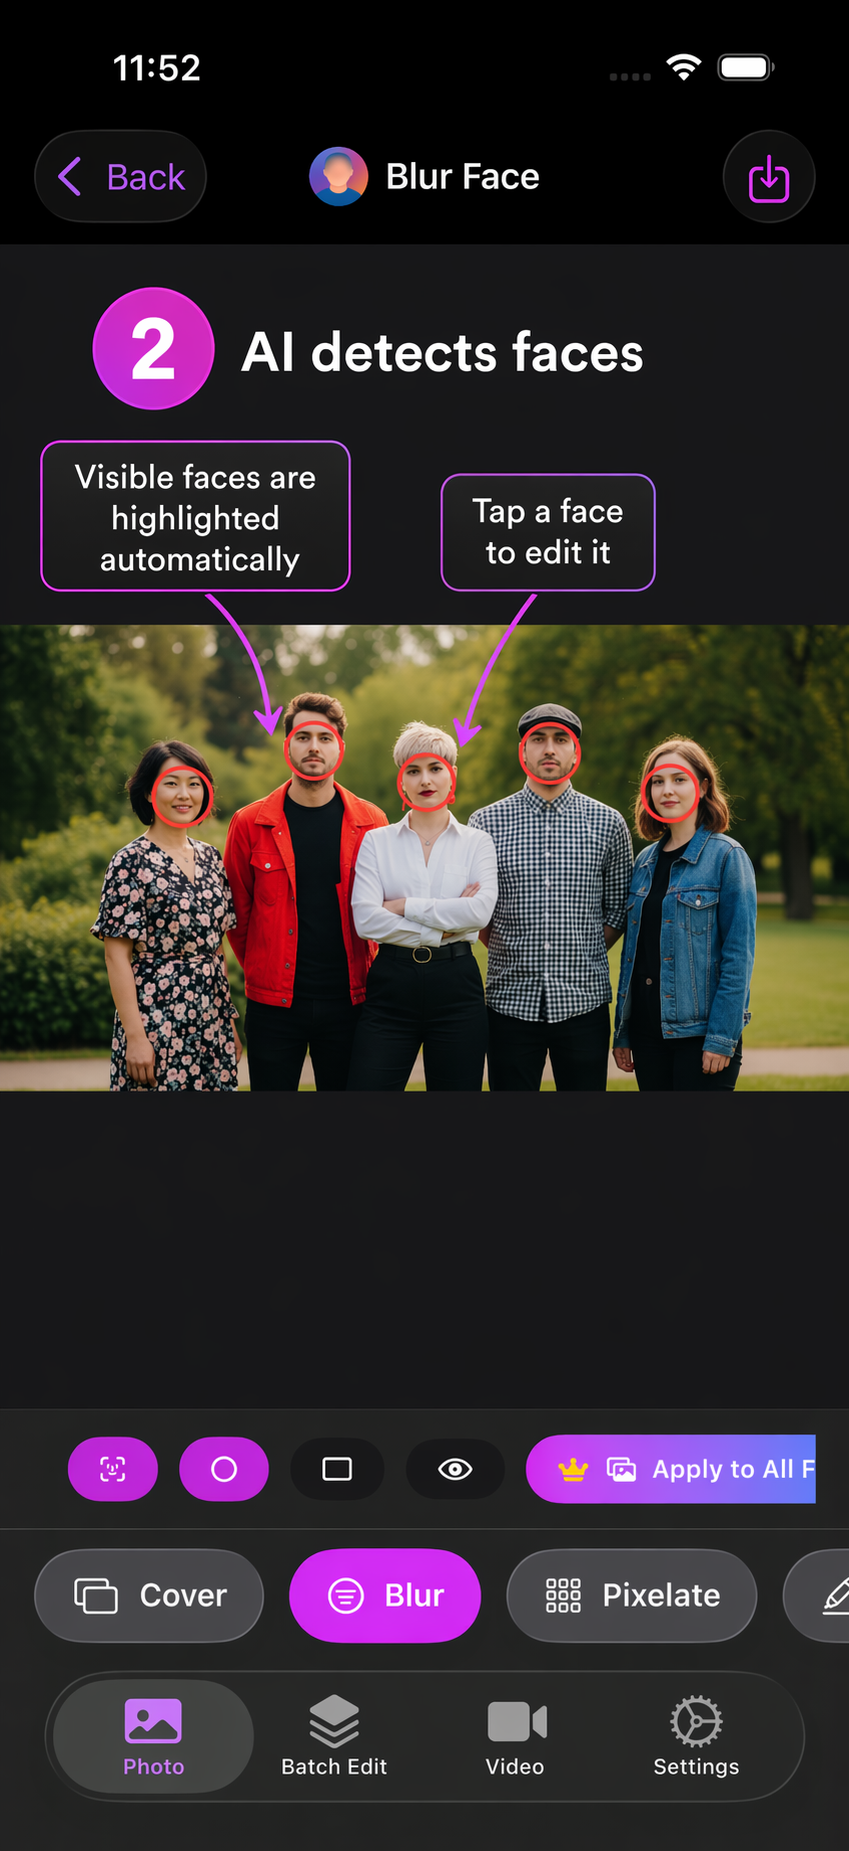
2. Let AI detect faces
The app scans the photo and highlights all visible faces automatically.
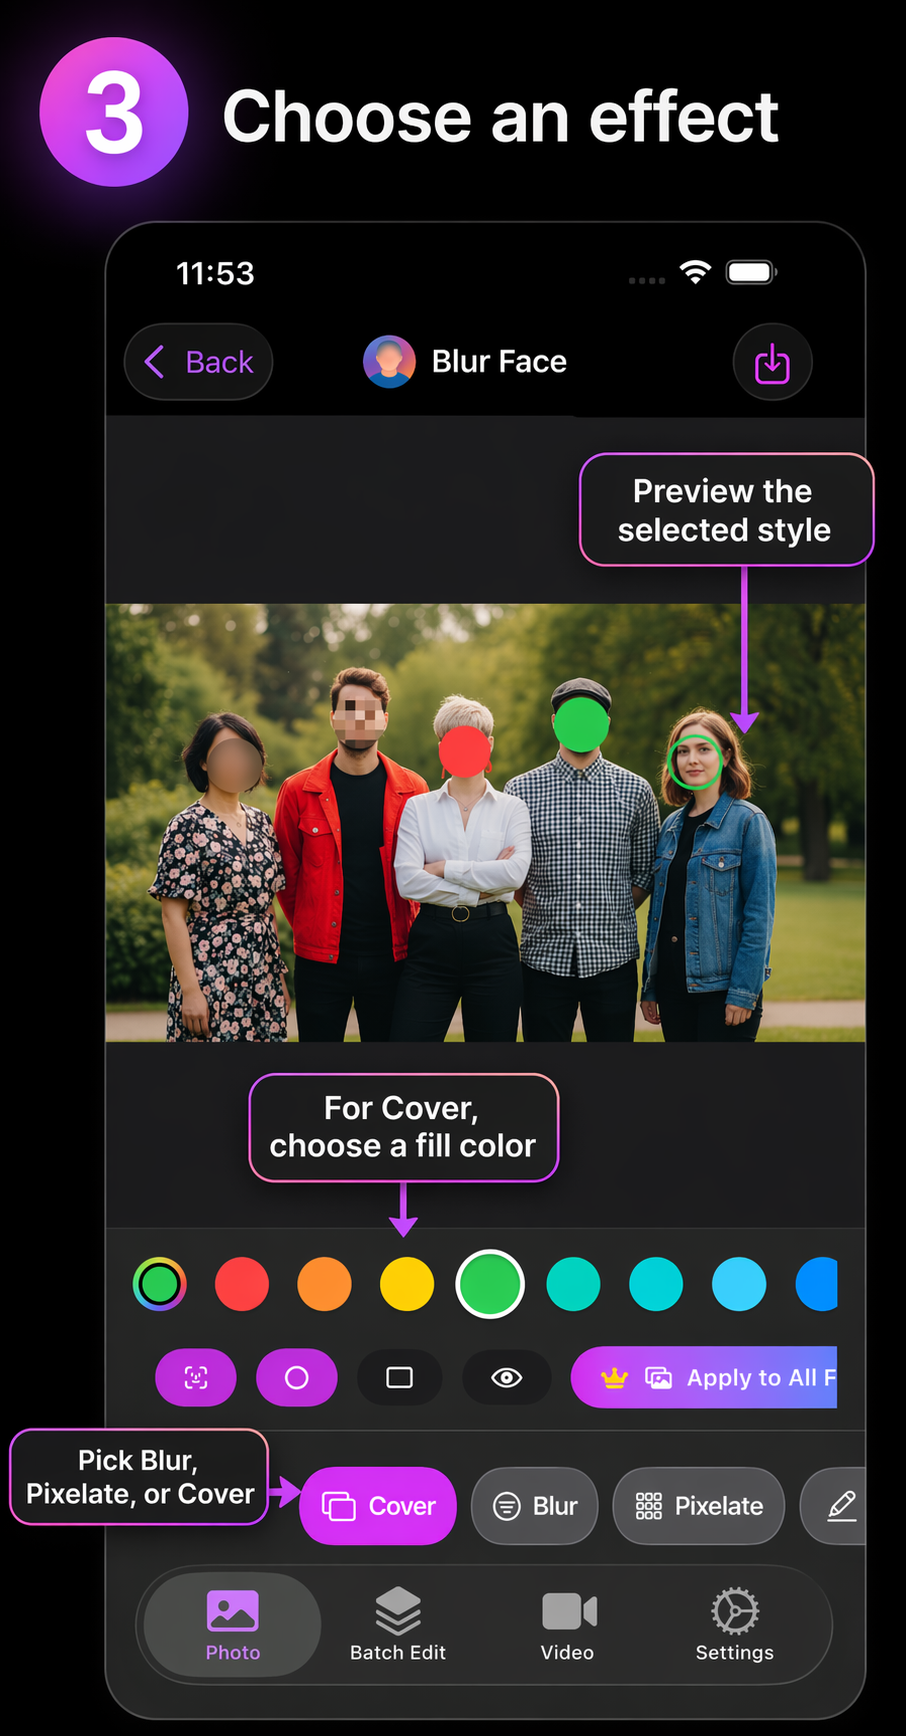
3. Pick your effect
Tap a detected face and choose how you want to hide it — blur, pixelate, or cover.
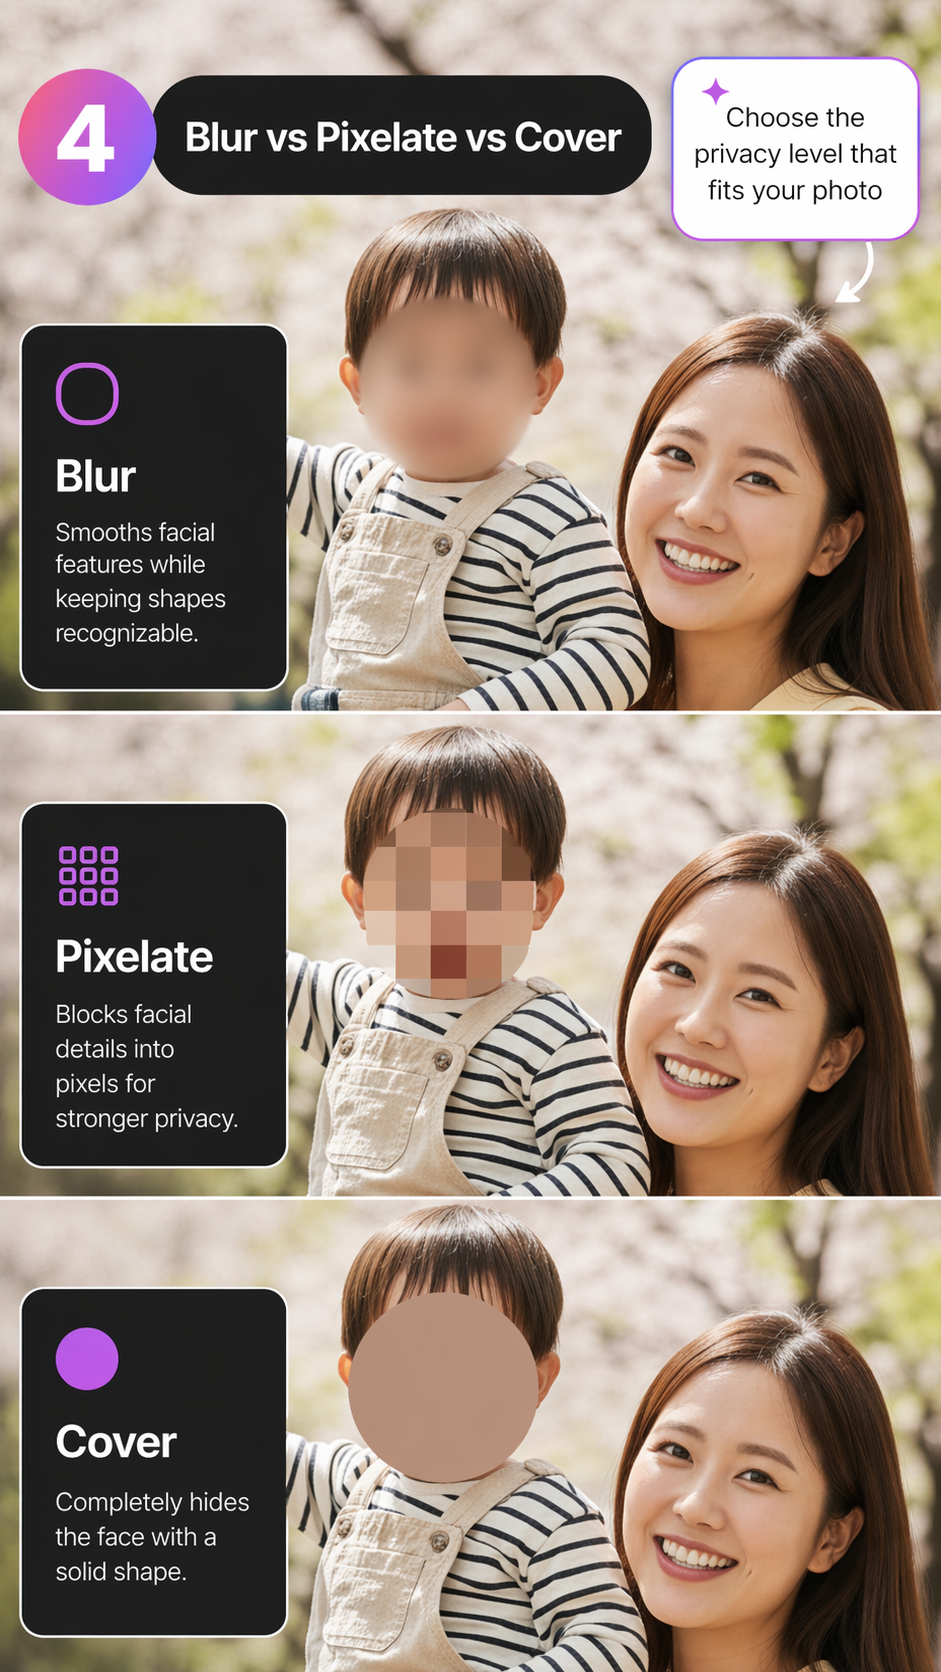
Blur vs. pixelate vs. cover
Each effect works differently depending on what you need:
Blur — a soft, natural look. Good for casual photos where you just want to obscure someone's identity without drawing too much attention.
Pixelate — the classic mosaic effect. Stronger than blur, commonly used for censorship-style privacy.
Cover — completely hides the face. The strongest option when you want zero visibility.
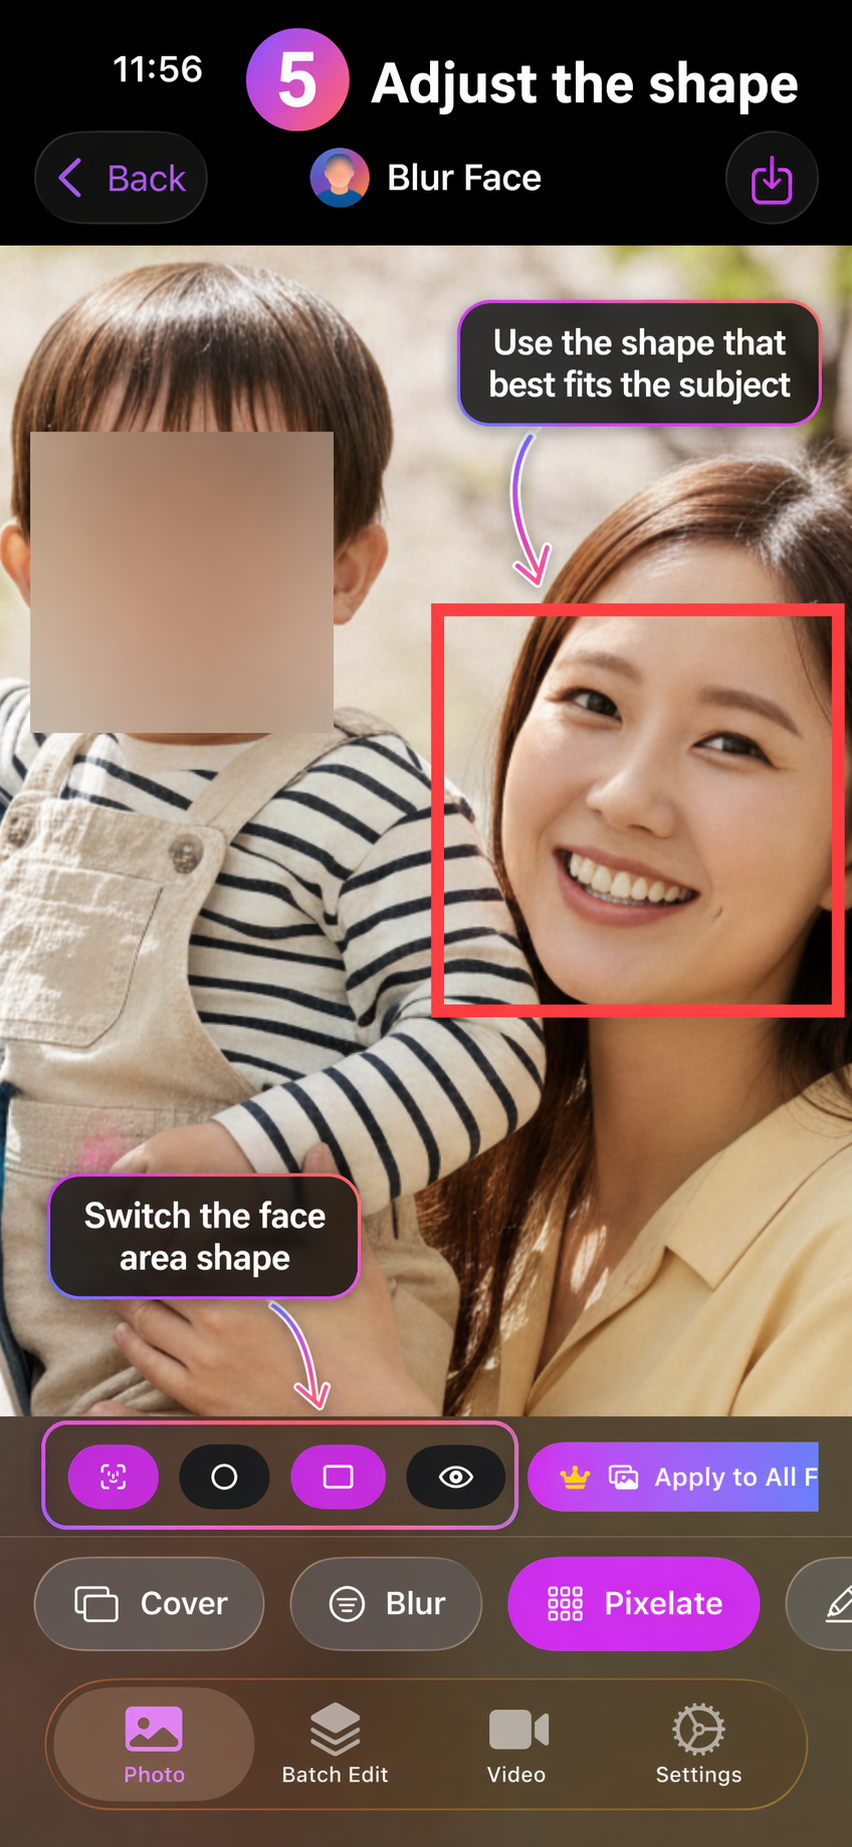
Change the face detection shape
You can switch between different shapes for the detected face area — oval, rectangle, or others — depending on what fits the photo best.
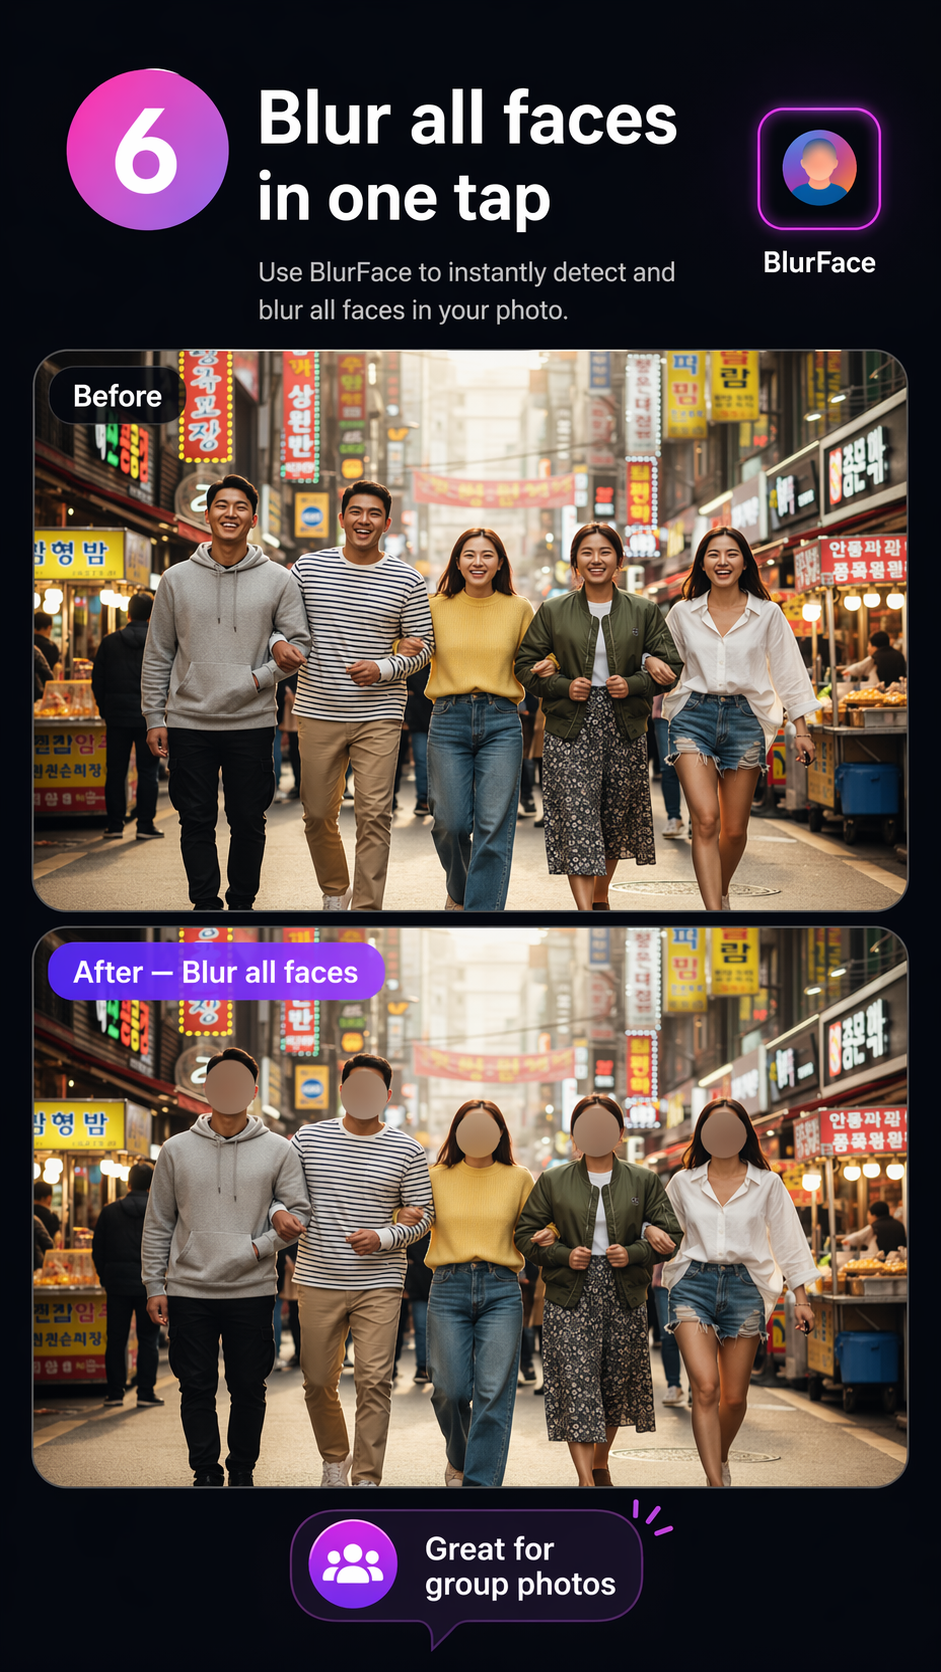
Blur all faces at once
Working with a group photo? You don't have to tap each face individually. Blur Face can blur every detected face in one tap.
This is especially handy for:
- Family group shots
- School or event photos
- Travel photos with strangers in the background
- Team pictures
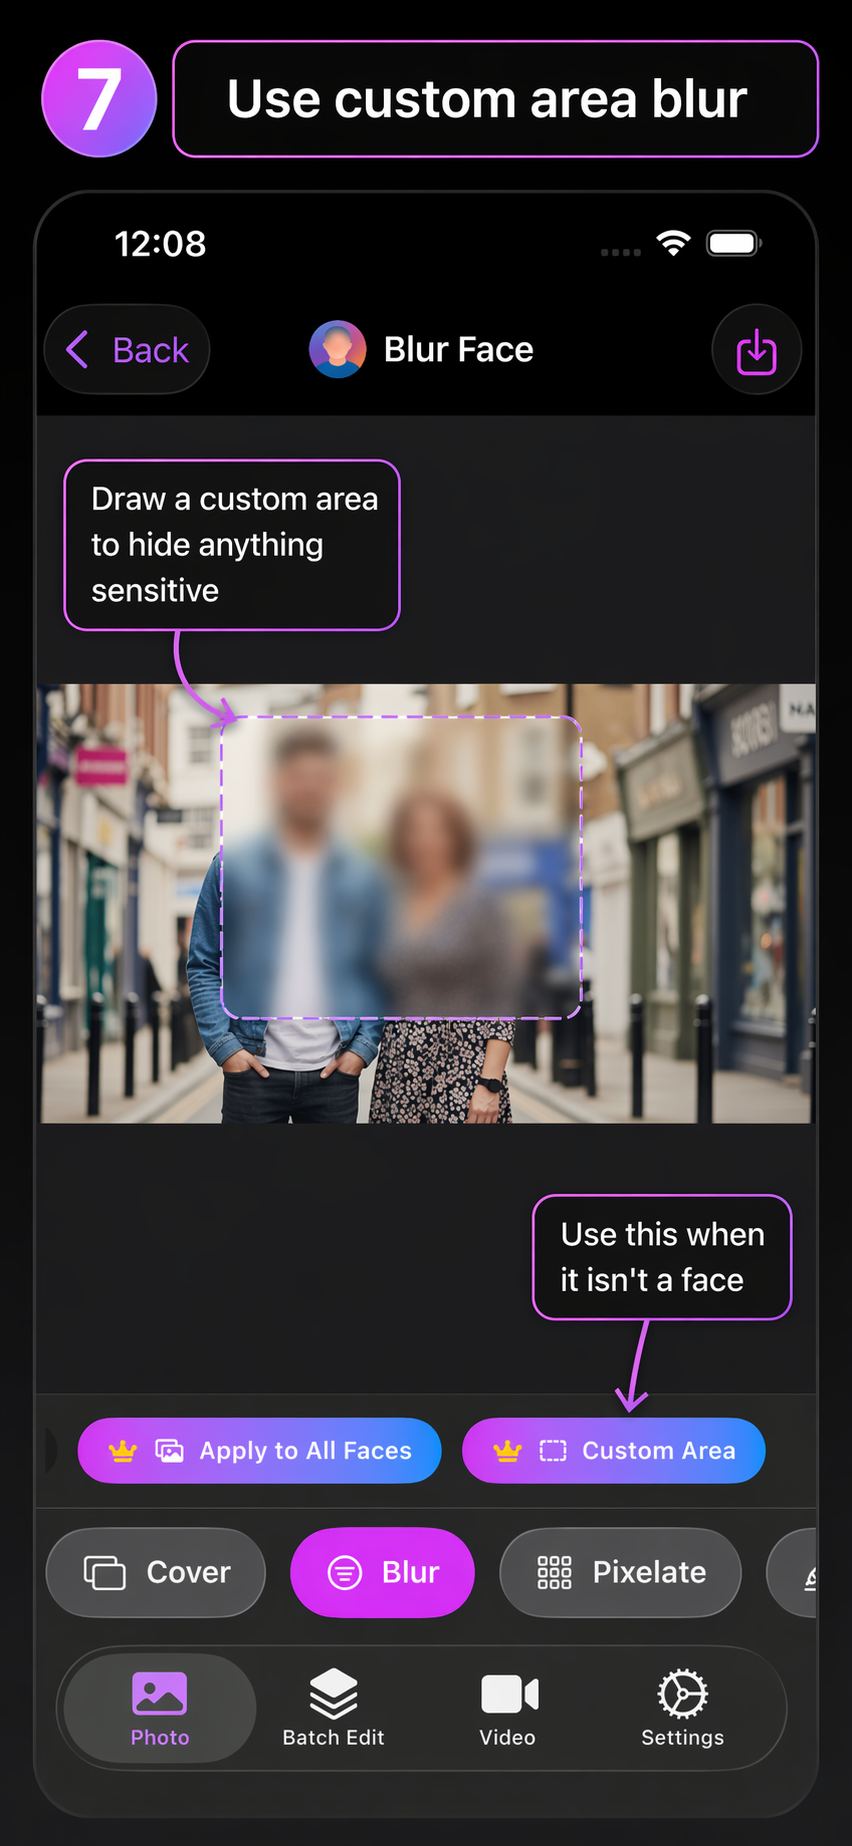
Custom area blur
Sometimes you need to hide more than just faces — a license plate, a badge, a document, or something on a screen. Use custom area blur to draw over anything you want to obscure.
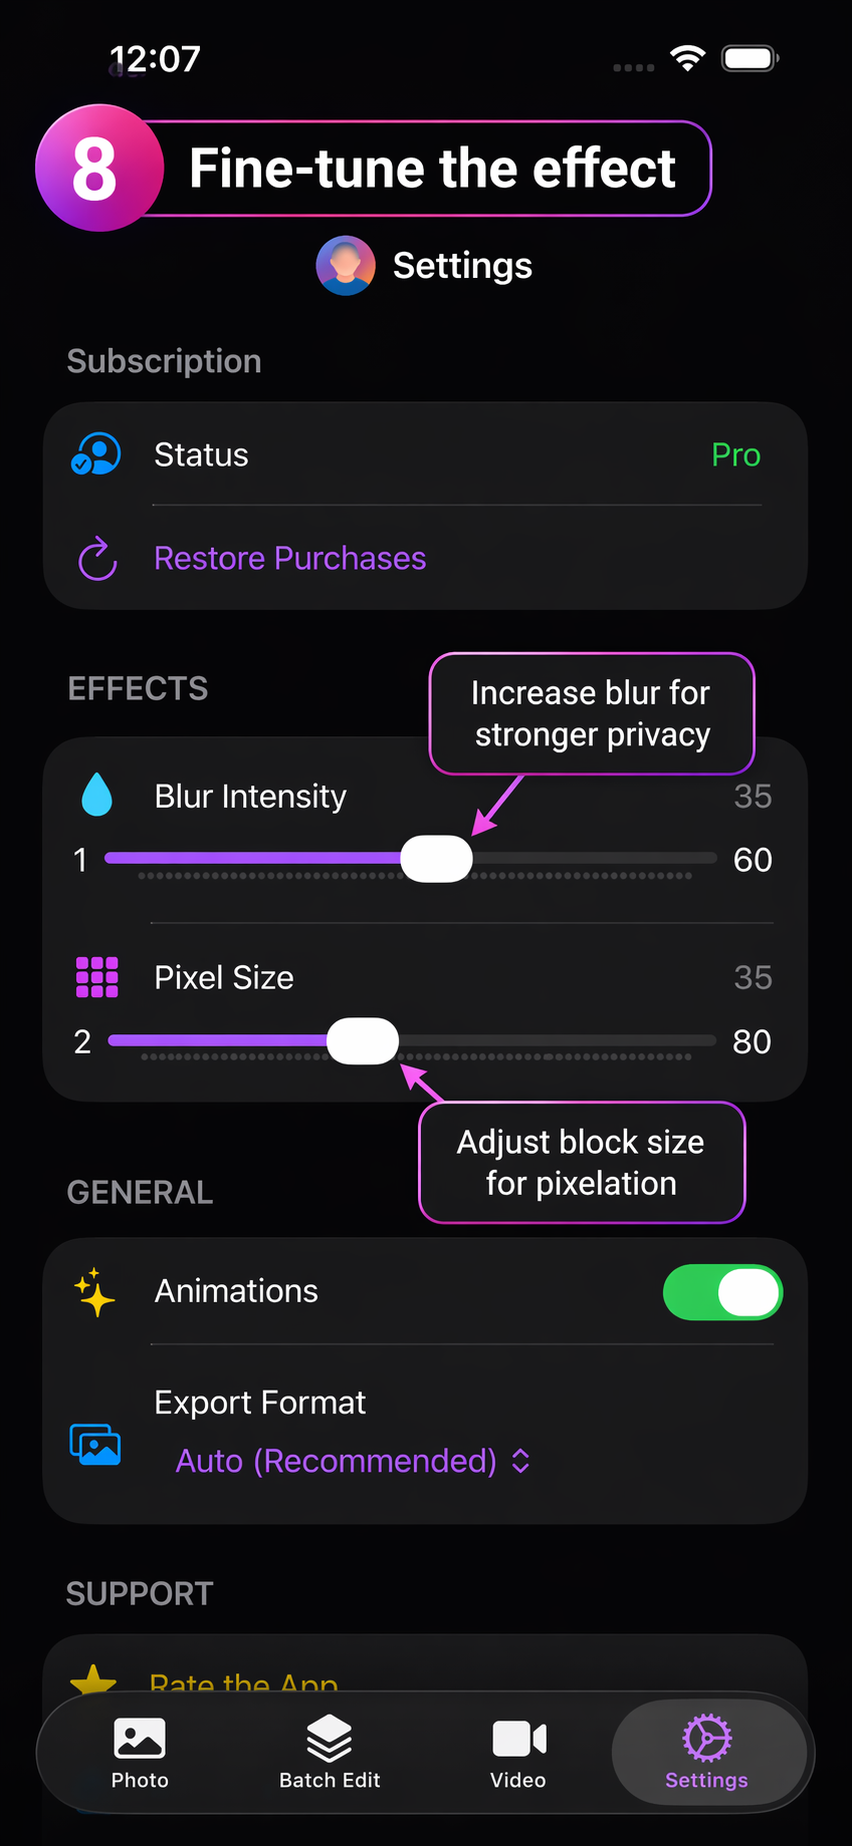
Adjust blur intensity and pixel size
Want finer control? You can tweak the blur strength and pixel size in the settings. This lets you balance between a subtle look and maximum privacy.
Open photos directly from your gallery
Blur Face supports the share menu, so you can send a photo straight from your gallery (or Photos app) into Blur Face without opening the app first.
When to use Blur Face
A few common situations where it comes in handy:
- Protecting kids' faces in family photos
- Hiding strangers before posting travel pics
- Preparing images for social media or work
- Anonymizing screenshots or documents
- Quickly editing group photos
Final thought
Blur Face does one thing well: it helps you hide faces and sensitive details fast. No complex tools, no steep learning curve.
The basic workflow is simple:
- Open a photo
- Detect faces
- Pick blur, pixelate, or cover
- Save and share